3 Ways to Inspire Students with Eye-Catching Graphic Organizers
Inside this Post: How to maximize student engagement with a simple secret…eye-catching graphic organizers. This is the second post in a series about graphic organizers. Want to start at the beginning? Click here.
We live in an increasingly visual world. When we are scrolling through TikTok, engaging on Instagram, cozying up with a graphic novel, or watching a YouTube video, visuals are influencing us. And this is no different for our students! Students are drawn to visually appealing things, and graphic organizers are not an exception!
In order to engage this generation, we need to find ways to leverage the visual power of design elements. Graphic organizers capture students’ attention and entice them to think on a deeper level. One of our goals with graphic organizers should be to add as much visual interest and meaning as possible–and to get students involved in creating the visuals, too!
You may have heard it said that pretty things are just fluff, but that is a common misconception that couldn’t be further from the truth. While pretty things can be fluffy, they don’t have to be (especially if you are modeling for students!) The difference between fluff and a useful teaching tool is the level of thinking required from students. Graphic organizers should focus on process over product.
When building a graphic organizer collection, keep in mind these powerful tips for maximizing aesthetics:
Tip #1: Captivate students with visuals.
Students crave visually engaging content because that is what they are used to seeing daily. Graphic organizers need to be accessible and legible, but students tend to invest more energy in something that captures their attention. This is good news! We can tap into critical thinking through aesthetics.
Maximize the Space
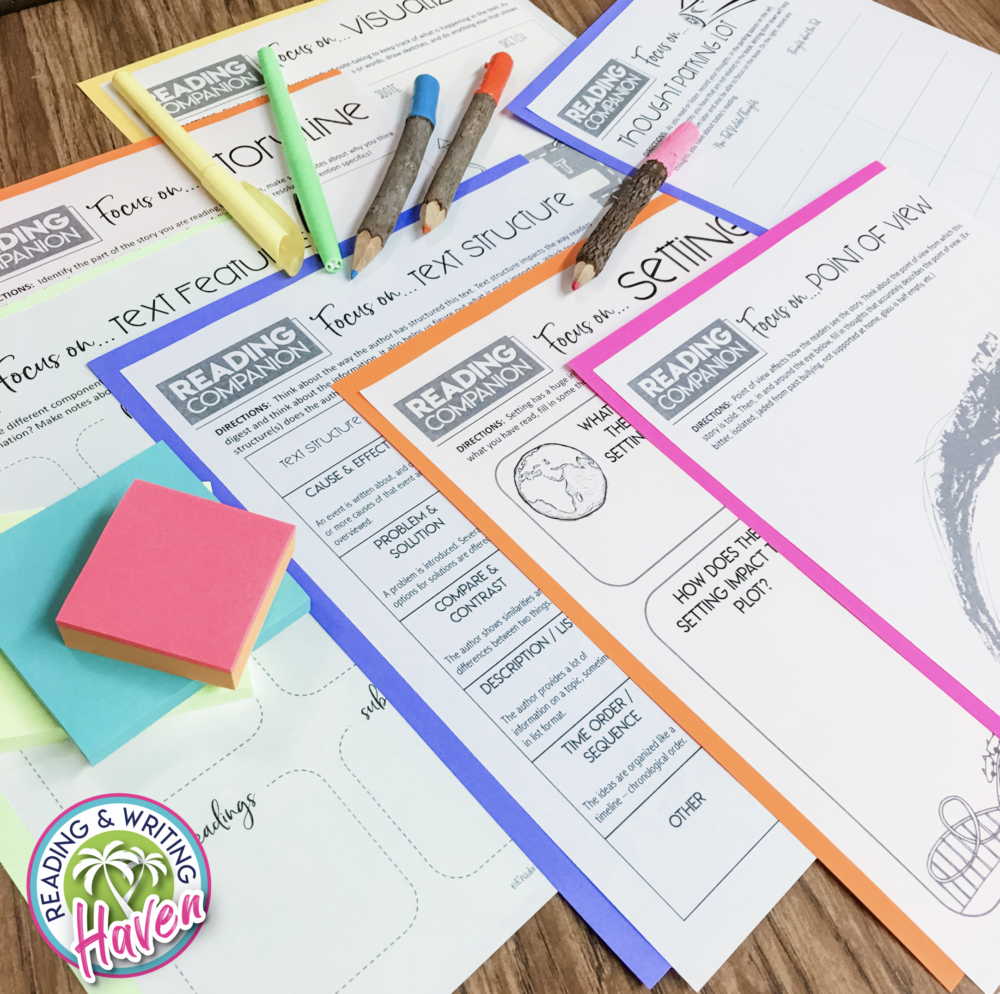
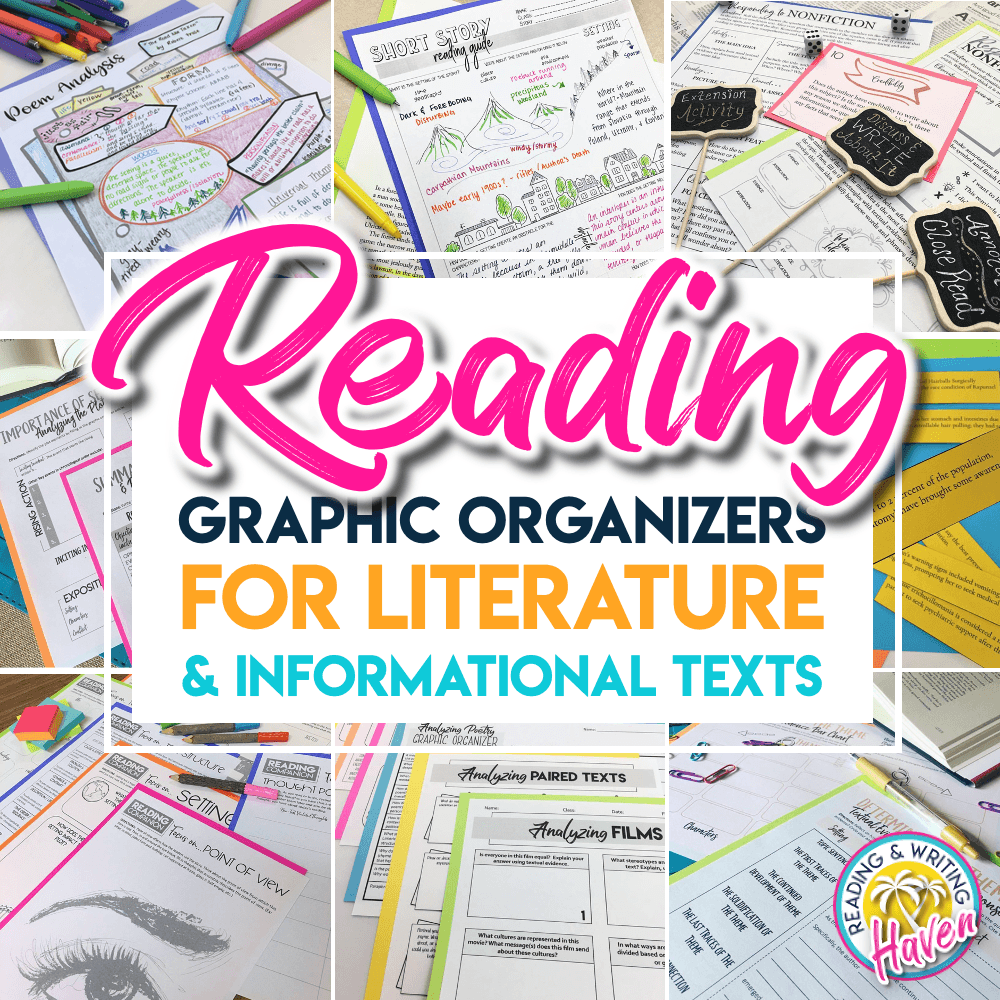
I have designed some eye-catching graphic organizers that I can pull and pair with any fiction or nonfiction text. This collection focuses on a variety of reading skills and concepts. As you can see, there is space for students to doodle, color, take notes, and even write complete sentences. The visuals are appealing, but not fluffy. Reading becomes visual, which engages students and helps them retain information.
What about inferring? I’ve found that making inferences can be a challenging skill for students, but what if you could tap into the visual value of graphic organizers and use doodles or sketches to map out what the text says and what you already know? Good news, there’s a graphic organizer for that! What about using sketches to map out the structure of a challenging text, so students can easily understand the information presented? There is a graphic organizer for that, too! Again, these graphic organizers are not fluffy–they are tools that students can use to help make meaning.
I add scaffolds directly into the graphic organizer, like quick reminders of what “textual evidence” and “schema” mean. Combining the definitions with the visual elements is a simple way to elevate the level and engagement from students.
Leave White Space for Creativity
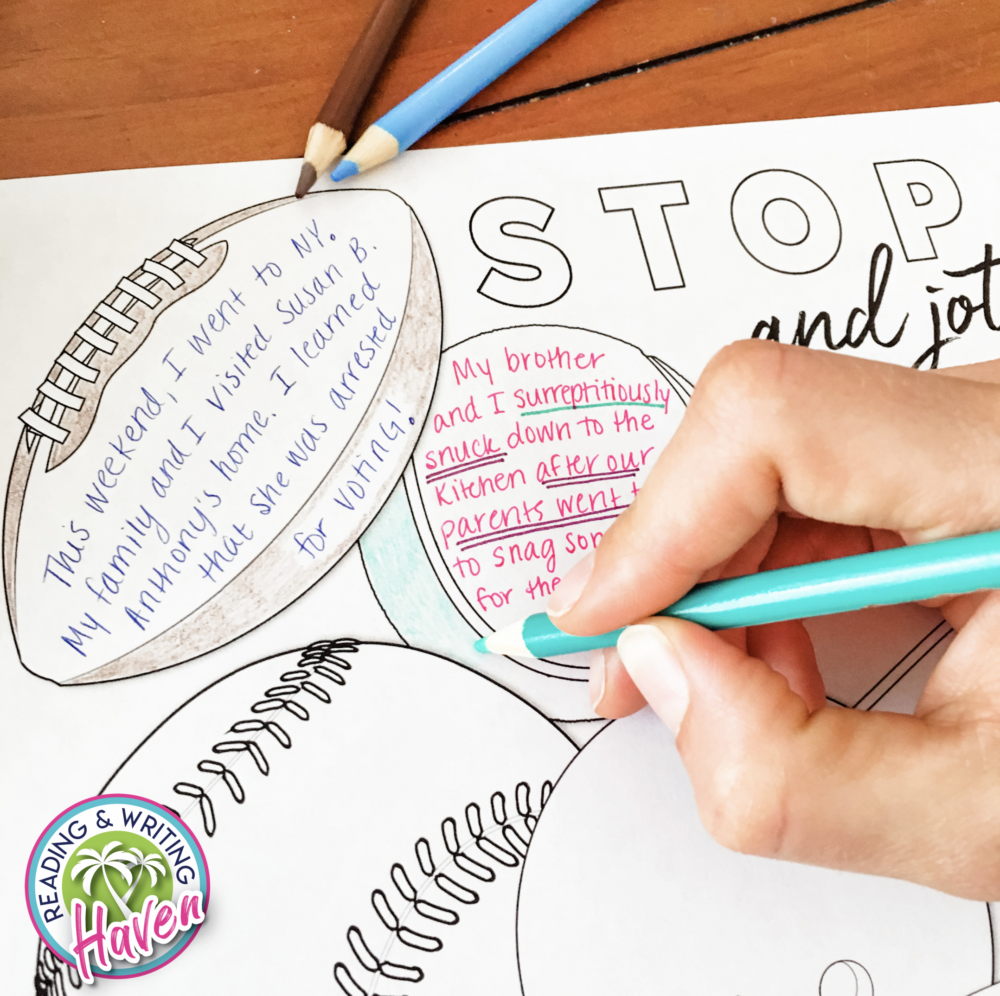
Are you in between activities? Do you have extra time? Was your lesson just interrupted? Stop and Jot organizers can be used as a landing spot for classroom transitions (See below.) I’ll prompt students with an engaging question that relates to our classroom content, and allow them to respond in words or visuals as a brain dump before moving on to the next part of my lesson. I love the simplicity of a blank graphic organizer that has endless uses and that students have already learned how to use.
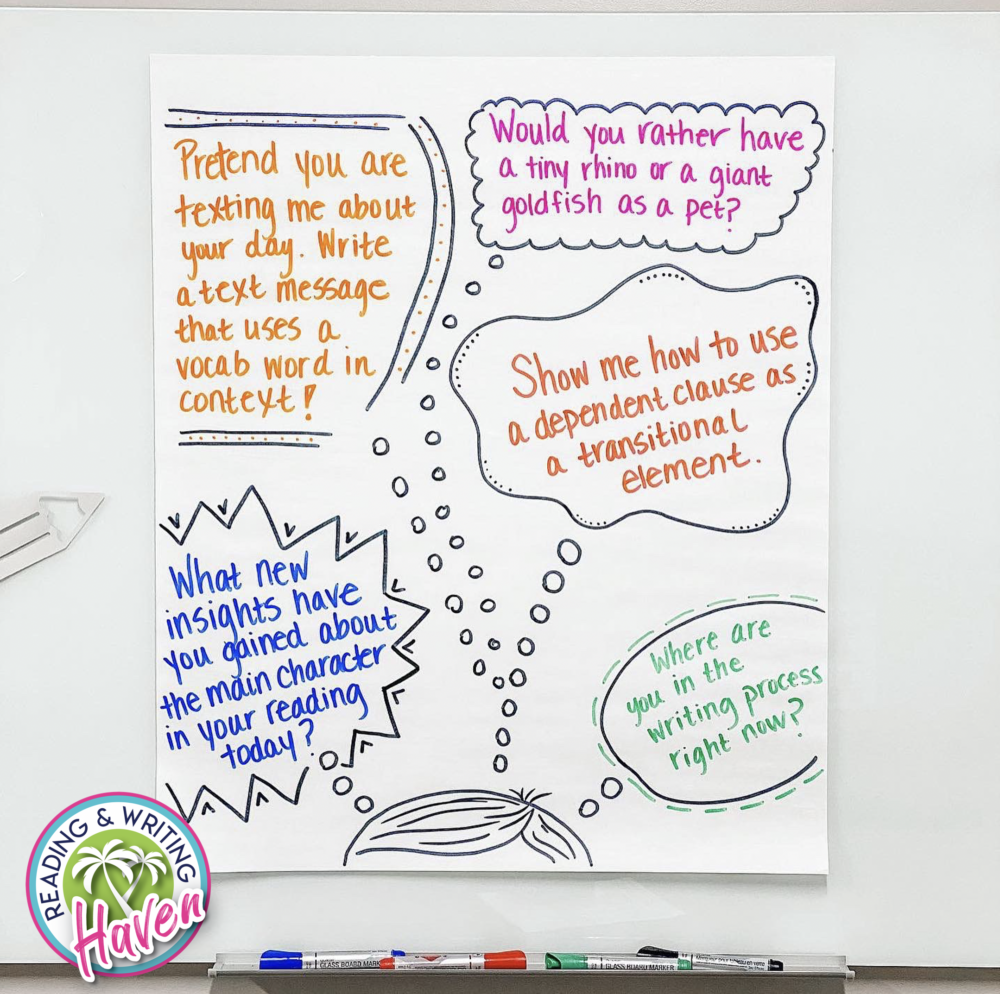
Increase independence by providing an anchor chart (example pictured above) that displays curriculum related or relationship building questions posted before class even begins so that when an opportunity arises, students can dive into one of their choosing. Instead of waiting for you to tell them what to do next, students will have accessible, thought-provoking work to engage with between activities.
Tip #2: Let the space inspire deeper thinking.
We all want students who think deeply and create their own meaning from text, but what we often see is students wanting to provide the “right answer” or waiting for help. Can graphic organizers help students develop critical thinking skills? Yes! And students are engaged in the work, because of the visual appeal. We can use graphic organizers to create space for them to color symbolically, doodle meaningfully, or be inspired by graphics and spaces provided for thinking.
Annotated Doodles Increase Relevance
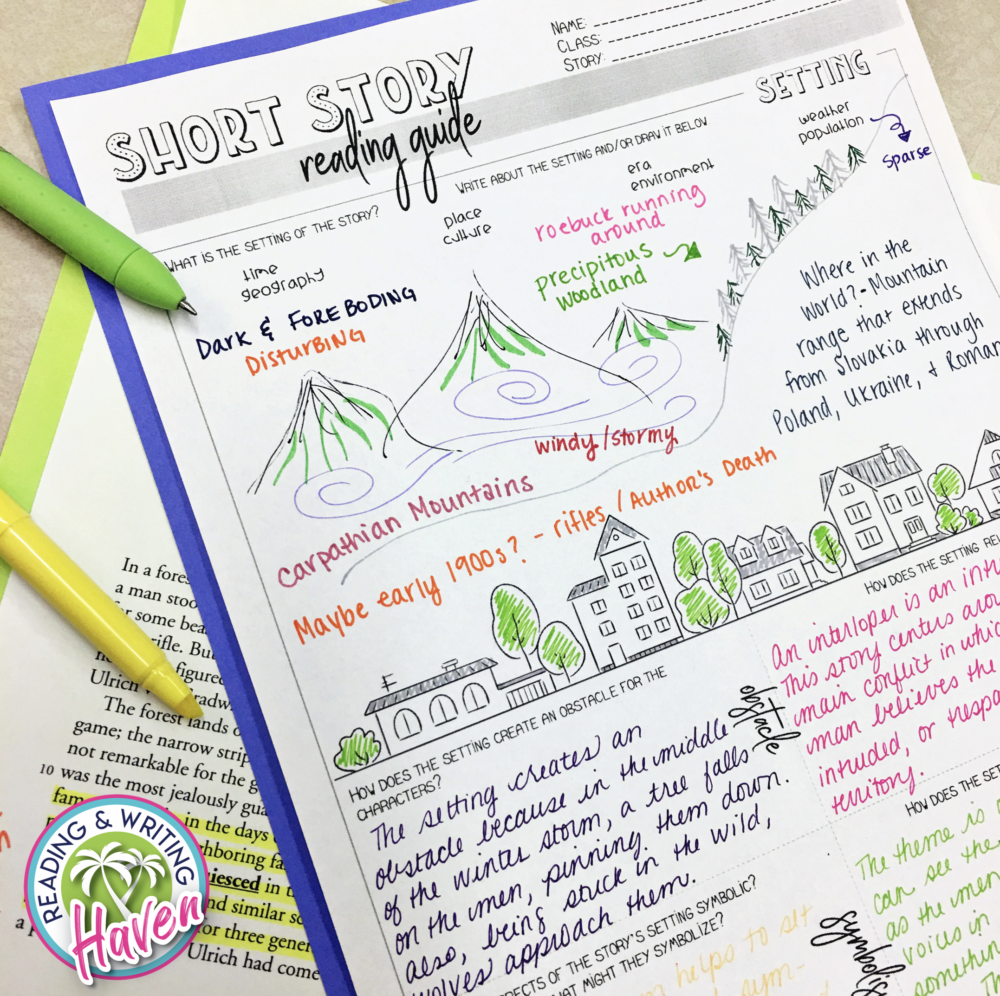
Have you ever asked a student to describe the setting of a story only to be met with a brief description of the place and time? As students get older, setting analysis needs to be rich in discussion of mood, tone, and conflict. We want students to be picturing what it would feel like and sound like to be present in the literature they read. Doodles are a simple step toward achieving this goal.
The doodling elements and detailed setting prompts in the example pictured below allow plenty of room for thinking deeply. Instead of telling you that the story takes place on a mountain, students can use sketches to map out the mountain range including details specific to the story. They can picture the intense mood and tone as they consider the precipitous woodlands, the bitter winter storm, and the hateful family feud. When we add doodling to our graphic organizers, we won’t be getting fluff, but we will be encouraging perspective taking and rich discussions about the story!
Symbolic Coloring Helps Deepen Connections
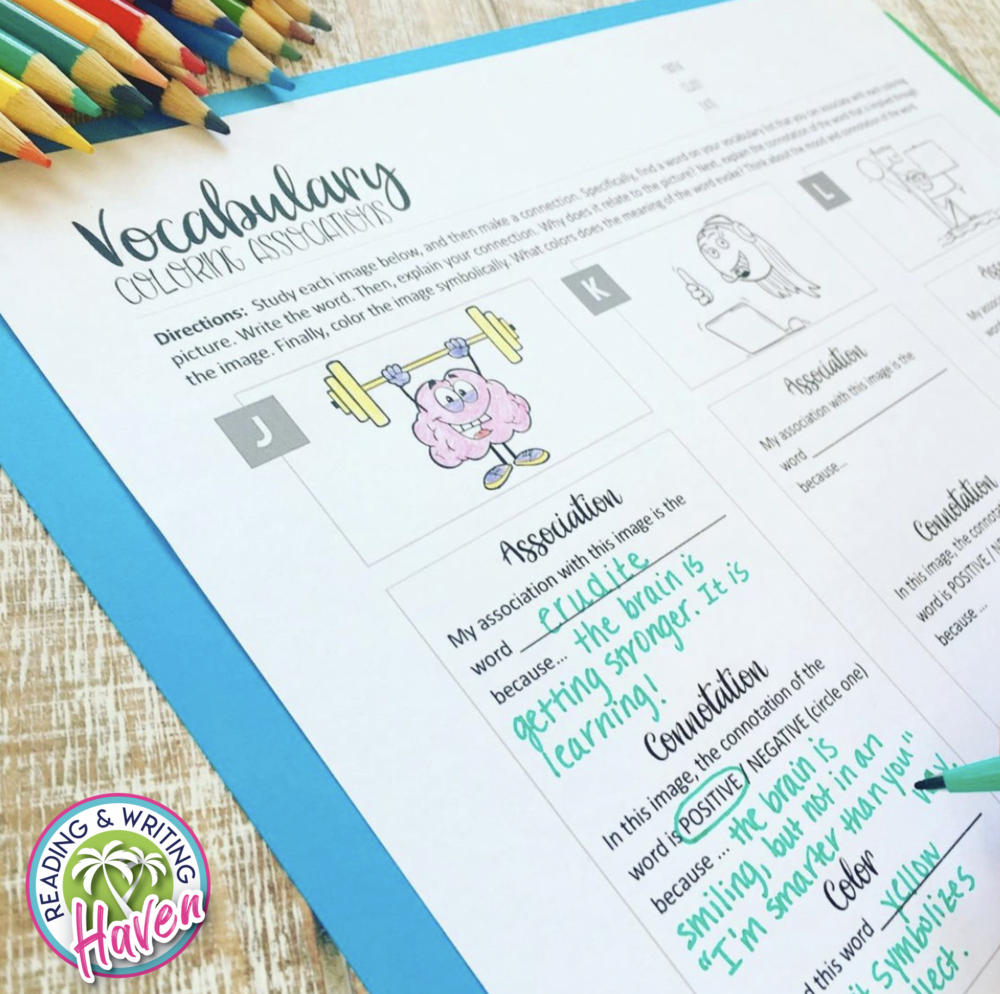
Do your students struggle with learning new words? Have you had trouble getting students to apply new words in speaking and writing? Vocabulary building requires students to go beyond writing out definitions to application of the new words. Imagine how much better students will retain their vocabulary when we add image associations and symbolic coloring! What a powerful way to tap into the visual value of graphic organizers.
Above, you see how a student has used provided images to make connections and analyze connotations. With this non-traditional graphic organizer, students are moving past writing a definition to showing associations between words. Instead of writing a simple sentence, students are thinking deeply about the qualities of a word. Sentence frames are included to force students to think on a deeper level. This is a powerful tool for engaging students in authentic vocabulary instruction that leads to deeper thinking and application.
Tip #3: Visually unpack the learning target.
As teachers, we know that it is important for students to understand the goal of a lesson. Whenever possible, we should visually unpack the learning target or standard for students, so they can see what they are expected to learn. The layout of the graphic organizer itself can help them understand the goal.
Illustrate what the learning process should look like.
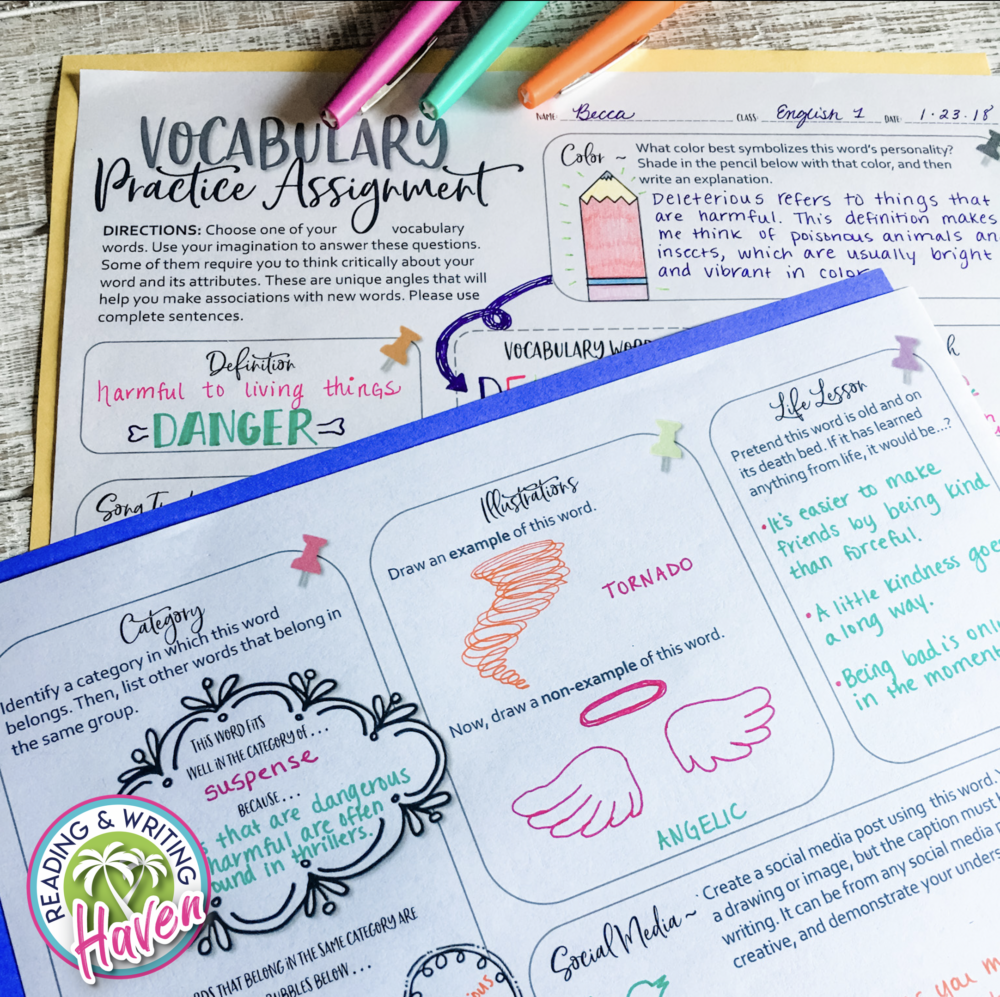
What do students REALLY need to do to expand their vocabularies? What does it look like to truly retain new words? We have to teach students to personify the words! To categorize, to connect, and to utilize them authentically. And graphic organizers are a perfect way to illustrate that process.
The organizer pictured below was born because I wanted to provide vocabulary practice assignments that made it clear to students that they were expected to use new words and fully understand them, instead of simply memorizing. When we ask students to draw examples and non-examples, categorize the word, or use it to write life lessons, we are showing students that we expect new vocabulary words to become part of their personal vocabulary. No more rushing through vocabulary. Students will now see the purpose!
Make complex concepts more transparent.
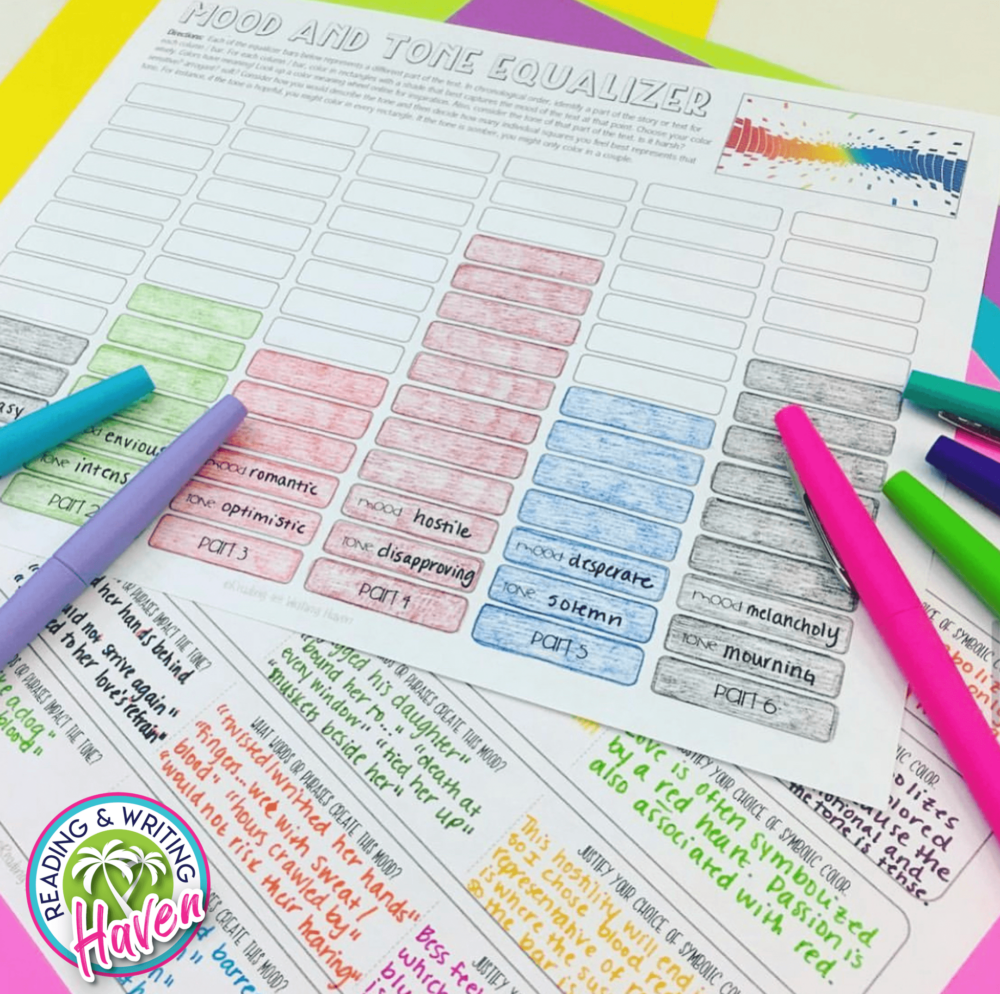
What do students actually have to do to analyze tone and mood and their impact on the story overall? This concept is always challenging for students…and for me! It can be tricky to clearly communicate the difference between tone and mood so that we can discuss how they work together to impact the story. Complex learning targets or standards like this are the perfect opportunity to visually unpack the learning goal. Students may just need to see what it looks like!
I needed a visual way to unpack this concept for students, so after some brainstorming, I created an equalizer. In short, students choose six critical moments in the story and identify tone and mood words for each part. Then, they select symbolic colors for the moods they have selected. Finally, they identify the strength of the tone for each part of the text by coloring the bars either higher or lower.
I was able to show my students how to track mood and tone throughout a story by modeling with the graphic organizer example above. We read the narrative poem “The Highwayman” and were able to have rich discussions while looking at our equalizer. We considered what words, events, and character motivations impacted the tone and mood throughout the story. At an even higher analytical level, we discussed how the author shaped the theme of the text, partially through the mood and tone.
After, students could use the equalizer to reflect on the plot and look for patterns in the mood and tone on their own. Visually unpacking complex learning targets using this process can make them more accessible for students.
Use visual metaphors whenever possible.
It is our responsibility to find creative ways to connect with our students and make complex concepts more accessible. Metaphors (like the equalizer) are a bridge between abstract ideas and concrete understanding. They allow students to visualize and grasp challenging concepts more easily. Instead of seeing content as a bunch of disconnected thoughts, students learn to look for structures and patterns that make learning easier!
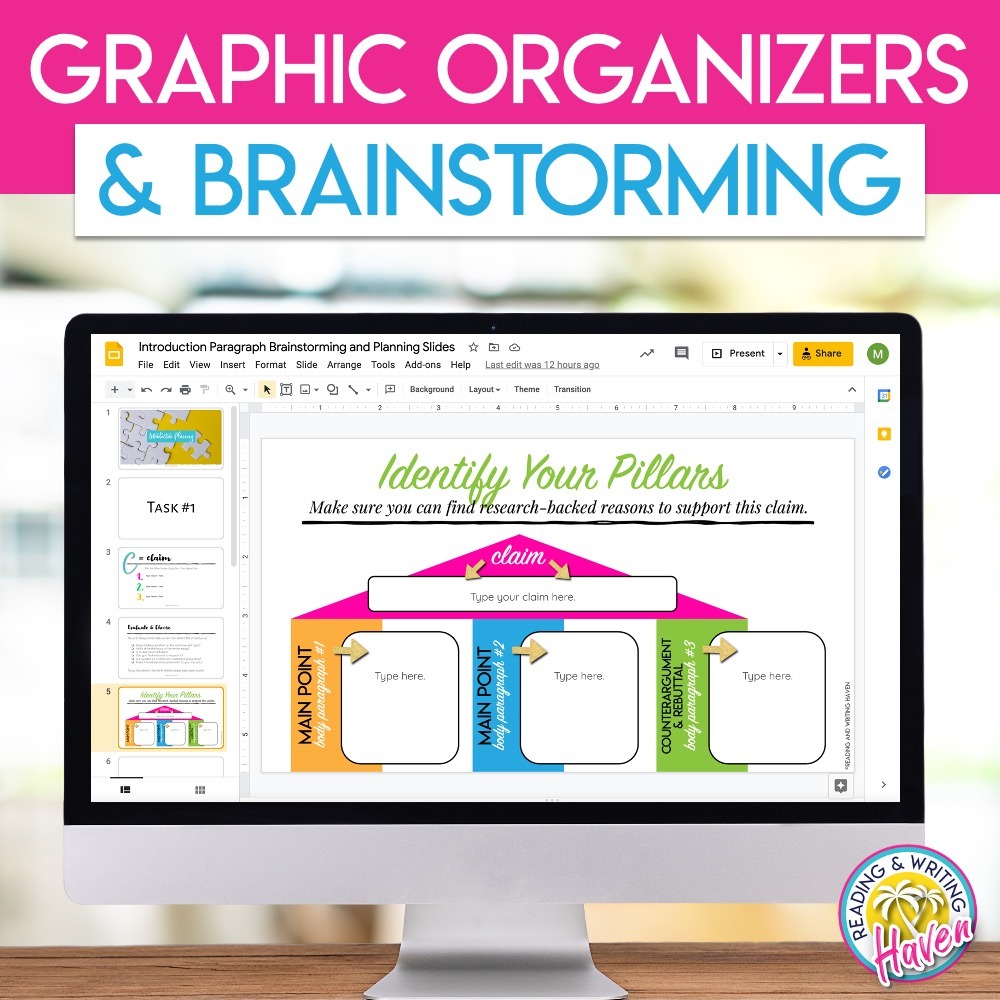
Identifying a claim and supporting details can be a surprisingly difficult skill for students to develop. Imagine the benefit of showing students how the pillars (main points) of an essay literally support the roof (claim or thesis statement) using a house metaphor. If even one pillar is weak, the roof could come crashing down. That is a visual that students won’t soon forget and may help them look for metaphors to help them in the future.
More than Fluff
Are you ready to embrace and harness the visuals that our middle and high school students love, instead of constantly battling against them? After all, if you can’t beat ‘em, join ‘em! Let’s face it, visuals are more than just pretty and fluffy–they’re a force to be reckoned with! They have the power to completely transform the learning experience for students, unleashing their full potential and boosting their thinking skills to new heights.
Imagine the excitement and engagement that will fill your classroom when you start leveraging these captivating visuals. From eye-catching reading companions to interactive notes, students will explore, analyze, and make connections like you’ve always dreamed they would! It’s time to embrace the fact that visuals aren’t just pretty; they’re powerful tools for learning waiting to make their way into the hands of your students.
So, don’t wait! Start building a collection of visually appealing graphic organizers today. Give your students the gift of a learning environment that speaks their language and ignites their curiosity. Empower them with the visual tools they need to soar!
The future is visual. It’s time to embark on this colorful adventure!
Ready to read the third post in this graphic organizer series? It’s all about ways to level up critical and creative thinking.
___________________________________________________________________________
RELATED RESOURCE:
If you are ready to start building your eye-catching graphic organizer collection, start here. This bundle has a plethora of organizers aligned to different reading goals.


The information that i learned doing this module was life changing, these concepts will be a part the development of students in my classroom.