
Using Student-Created Graphic Organizers to Elevate Learning
Inside this Post: Need to deepen student investment in graphic organizers? Try differentiating. One of the highest levels of choice we can offer is student-created graphic organizers. Find the details in this post! (This post is the last in a four-part series about ways to use graphic organizers better. Interested in the others? Read about modeling with organizers, creating visual appeal, and encouraging critical thinking.)
So, you’ve created graphic organizers with high-quality visuals and embedded scaffolds, you’ve shown students exactly how you expect them to be completed, and you’ve put in place multiple opportunities for elevated thinking, but it feels like something is still missing. Which scenario below feels more like your experience?
Scenario 1:
You confidently hand out a graphic organizer, thoroughly model how to complete it, and send students off to work independently. You make your way over to a student whose hand is raised and answer their question. While you are chatting with this student, you can feel it–someone is standing behind you waiting not-so-patiently. When you turn around, you see a long line of students waiting to ask their own questions! Now, you are frazzled and a bit overwhelmed, making it hard to provide feedback for the students who are working independently. And, even worse, many students are off-task while they wait to ask you their question. Chaos and a lack of meaningful learning were not on the menu today!
Scenario 2:
You confidently hand out a graphic organizer and show the students a few options for how they can choose to complete it. You’ve left room for students to add things you hadn’t considered. Students can even decide not to use the graphic organizer at all! You make your way over to a student whose hand is raised and answer their question. As you’re chatting with this student, you glance around the room and notice that students are quietly engaged in their work, reading for meaning and thinking deeply. Score!
Obviously, we all want to be living in Scenario 2! So, what is the difference between these scenarios? CHOICE! Teaching students to complete graphic organizers independently has a truly simple solution.
A major problem with graphic organizers is students don’t usually have the choice to NOT use one. It’s no secret that choice is a powerful and valuable tool in the classroom. When students feel like they have some say in what they are doing and why they are doing it, they are much more likely to engage.
There are so many ways to offer choices to students when it comes to graphic organizers, but in this post, I will share three ideas that you can use in your classroom right away!
#1. This or That Approach
If you have two or more graphic organizers that work for the same skill or concept, use them to offer choice. If students are familiar with how to use each of them, let them choose the organizer they like best. Make sure the same level of thinking is required with each organizer, if that matters for your lesson. The goal is for students to choose the graphic organizer that best meets their needs.
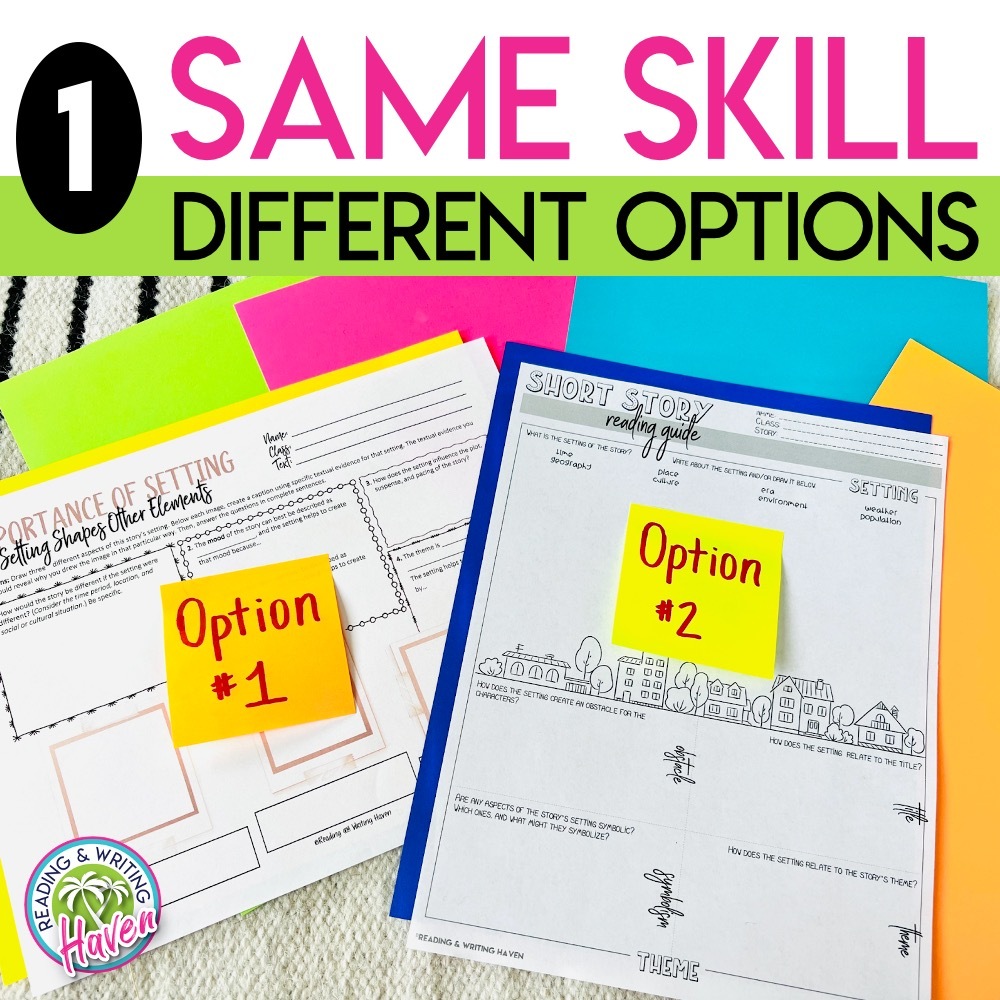
In the example below, students are offered two graphic organizers to help them analyze the setting and how it impacts the theme. Both organizers include visuals and scaffolds as well as require deeper thinking from students. But by offering students BOTH of the organizers, you have given them some ownership.
Option #1 offers more specific prompts and sentence frames to help students who may need a little more support with this concept. Option #2 would be more appropriate for a student who has a solid understanding of this concept, but it still requires the same level of thinking. You won’t have to worry about students choosing the “easier” task, because both tasks require deeper thinking and analysis.
#2 Choose Your Own Adventure Approach
If you are in a position to offer a review or practice, this approach can be fun. Remember when I talked about the filing cabinet full of multipurpose graphic organizers?–This is a time when that cabinet comes in handy! When you are spiraling back over some short story concepts, or you’ve just finished a novel study with plenty of lessons on reading skills, let students choose a concept that they feel they should work on.
Lay out some graphic organizers that cover a variety of concepts (i.e. – predicting, visualizing, inference, connecting), and let students choose the one they feel they need to work on most. (You may need to quickly confer with students to help them make the best choice for them.) In order to see independent success with the Choose Your Own Adventure method, make sure that these concepts have already been taught and modeled.
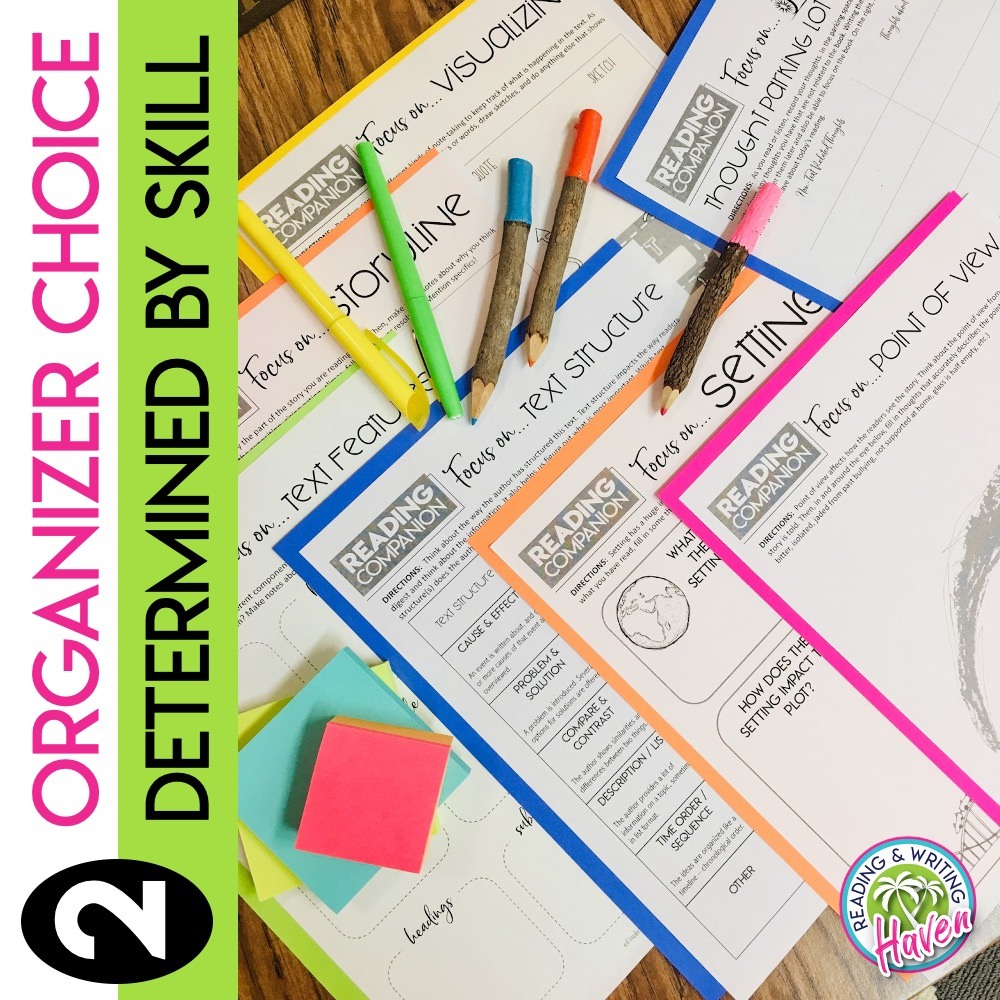
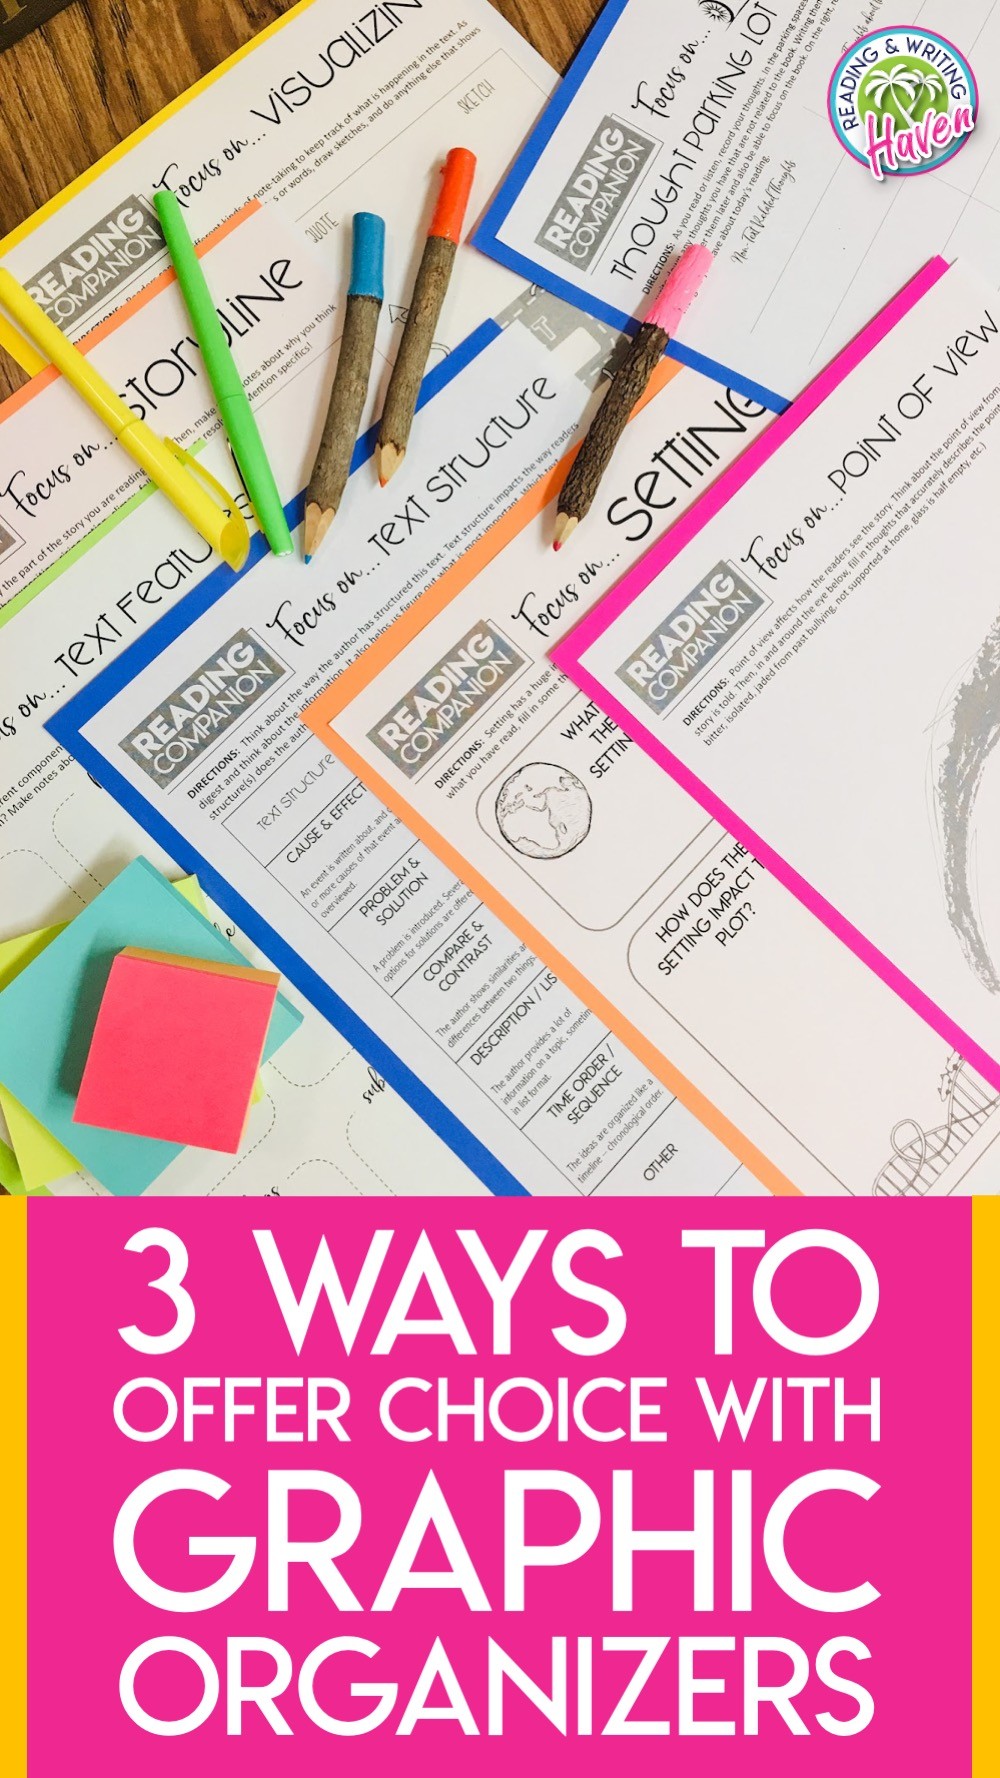
I love using my Reading Companions for the Choose Your Own Adventure approach. Students can choose from graphic organizers that focus on setting, point of view, text structure, visualizing, and so much more. Each graphic organizer requires the same level of thinking, but students are free to choose one based on their personal literacy goals. One student may be searching for clues to the text’s structure and analyzing how certain sentences fit into the overall text, while others may be analyzing the author’s point of view and how it impacts the main idea.
My build-your-own reading guide graphic organizers offer the same flexibility for story elements. This approach offers so many options for students, while allowing you to help them with specific, personalized skills and strategies. Allow students to choose one to complete before coming to a group discussion!
#3. Power Up Approach!
We must recognize that graphic organizers are scaffolds, and at some point, students don’t need that scaffolding anymore. That’s when it’s time to elevate the level of thinking required even more, which can be done by allowing students to design their own graphic organizers. The ultimate goal of teaching is to develop lifelong learners who know how to learn on their own.
WHO
Wondering if your students are ready to design their own graphic organizers? Here are some signs to look for:
- Students can tell you what an article or text means in their own words.
- They can independently complete the assigned graphic organizers successfully.
- They appear to be bored or not challenged by the graphic organizers.
- They ask outside-the-box questions like, “Can I color code this part…?” or they create a legend for their answers.
- They naturally organize their notes in a way that helps them process information.
- When you ask them to explain what they are doing and why, they can tell you without guidance.
HOW
After you’ve selected the students who will design their own organizers, you’ll need to think through HOW to get started.
Even though a student may be ready to make their own graphic organizer, it’s important to recognize that this is a totally new skill and must be modeled! To help students make their own organizers, they need to understand and verbalize the learning target. They also need to be able to identify any essential questions or concepts they should think about as they create. If they don’t know their WHY, they aren’t going to be successful.
Let me illustrate using a specific example: Common Core standard RI.7.5 asks students to “analyze the structure an author uses to organize a text, including how the major sections contribute to the whole and to the development of the ideas.” We need to model for students how to ask questions.
Sample Questions:
- What is the main point of this text?
- What structure does the author use to organize the text? (sequence, description, problem and solution, compare and contrast, cause and effect, argumentation?)
- How do the major sections of the text contribute to the main idea?
- How can you use containers (shapes) and connectors (arrows) to show the relationships and connections among ideas on your organizer? – entering into sketchnote territory here!
- Does your organizer need any explanations to clarify ideas?
- Would your organizer benefit from any definitions?
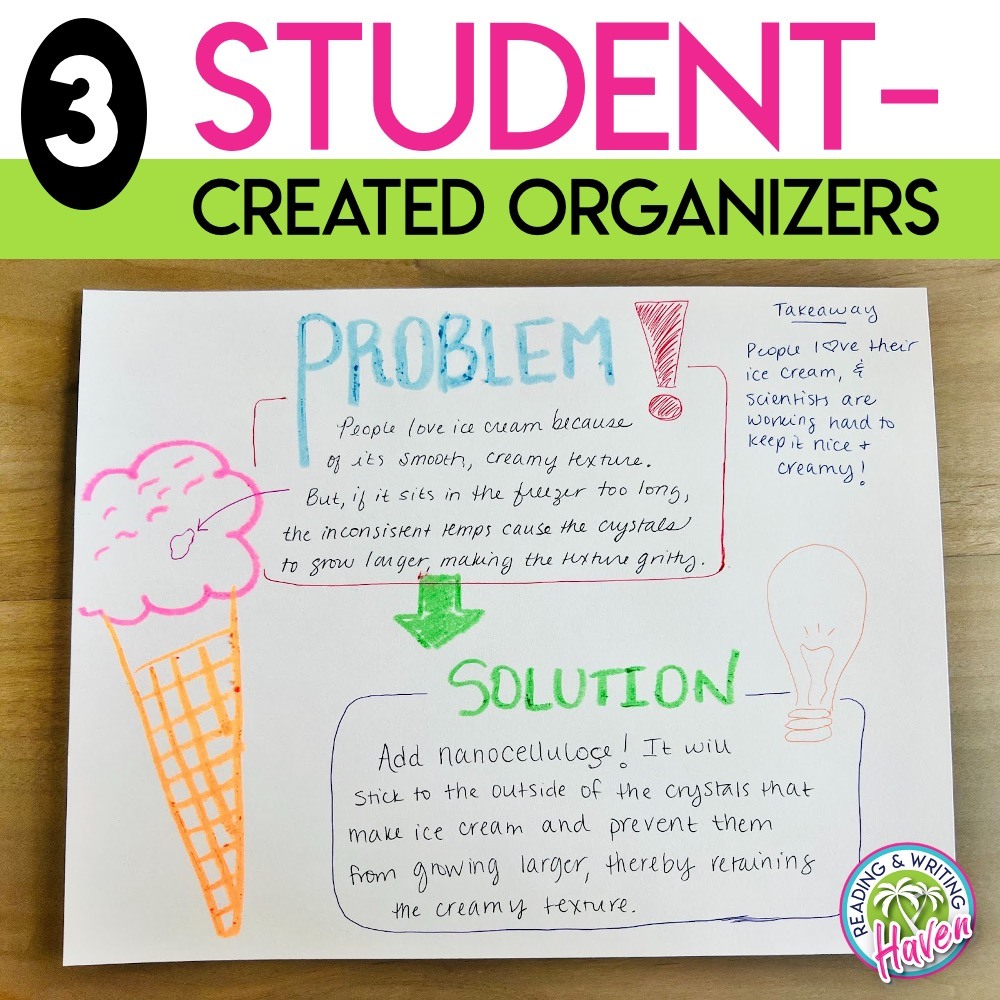
Below, you will see an example that I use with students. Based on RI.7.5, students should be able to figure out that they need to identify the text structure (problem and solution in this case) and use evidence and visuals to analyze the text. This example shows students that two containers and one arrow can be used to show the relationship between the problem and the solution. It also shows that complete sentences are necessary for this task. Including my “takeaways” encourages students to go the extra million when creating their organizers.
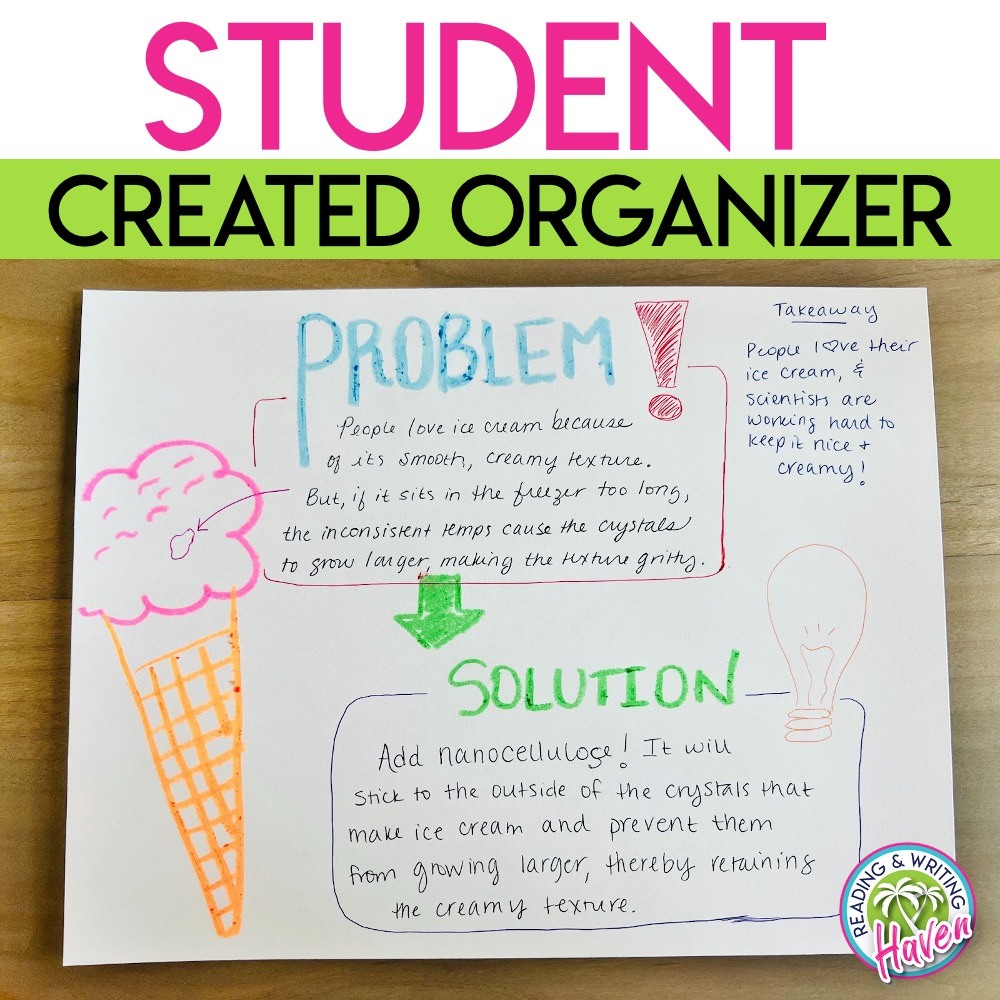
This organizer isn’t fancy or extremely artistic. Yet, I’ll never forget what I learned in the article because of how deeply creating my own graphic organizer made me think about the content I read. I had to comprehend the article, analyze how the author structured the ideas, and then decide how to organize my learning creatively.
FLEXIBILITY
Student-created graphic organizers can be the structured organizers we visualize as graphic organizers, or they can be more fluid…mind maps or sketchnotes, for example. Most of us have used graphic organizers for a million years, so we visualize more stereotypical versions. But we need to expand our understanding of what graphic organizers can be! We need to transcend that traditional interpretation to be more broadly inclusive. Students need to feel empowered to show the information in a way that makes sense to them.
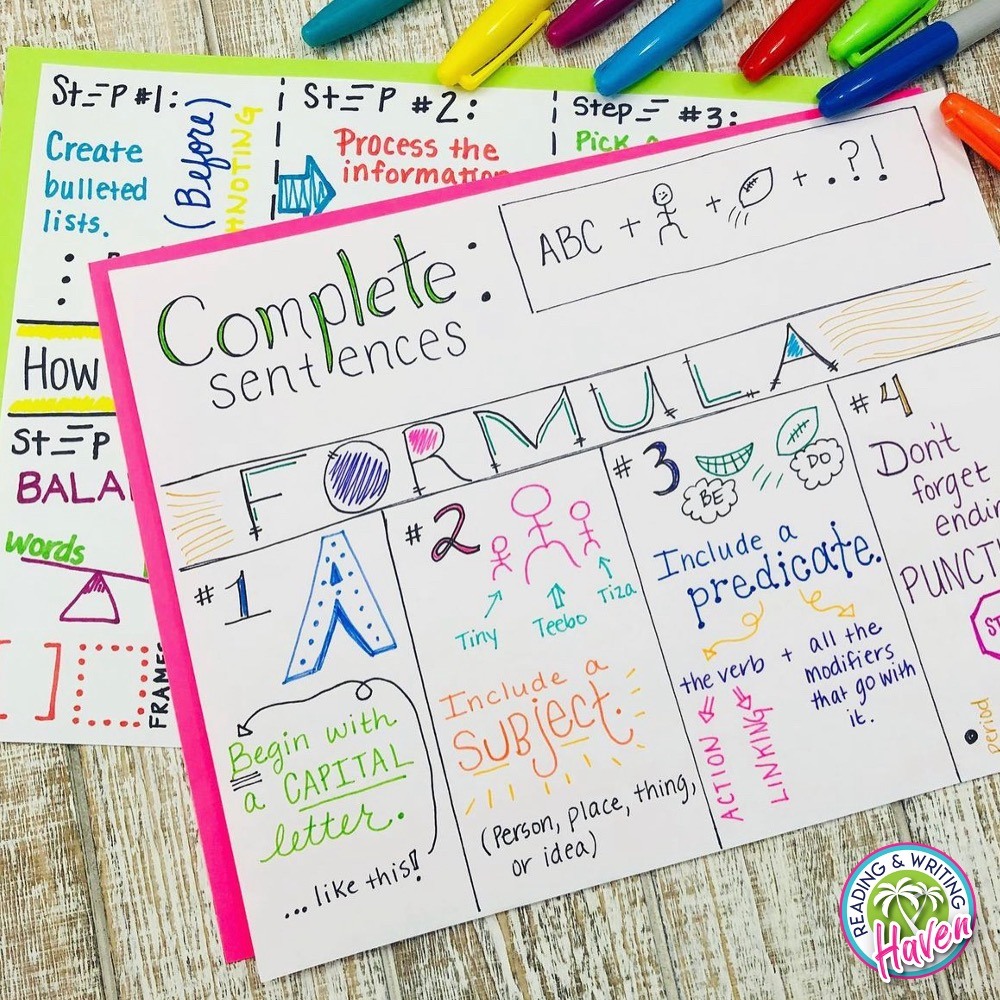
The example pictured below shows a student-created formula for writing complete sentences. This student clearly understands that they need to include a subject and a predicate, along with proper conventions. Imagine how powerful this graphic organizer would be as students learn more and more about grammar–they would be able to visualize exactly how their new learning fits in with their prior knowledge.
When students design their own organizers, they have to think more critically about what they know and don’t know. Gaps in understanding start to become apparent, which offers the opportunity to work with students on exactly the right skills. They have to keep reflecting on the learning target and the goal. If students are not successful with creating the graphic organizer, they can always CHOOSE to use one that already exists!
If you’d like a quick mini lesson to teach your students the basics about creating their own graphic organizer, you can find a free, quick lesson in my resource library, which is full of exclusive resources for teachers on my email list.
WHEN
Now that you have the WHO and the HOW, let’s talk about WHEN it’s ideal to help students make their own graphic organizers.
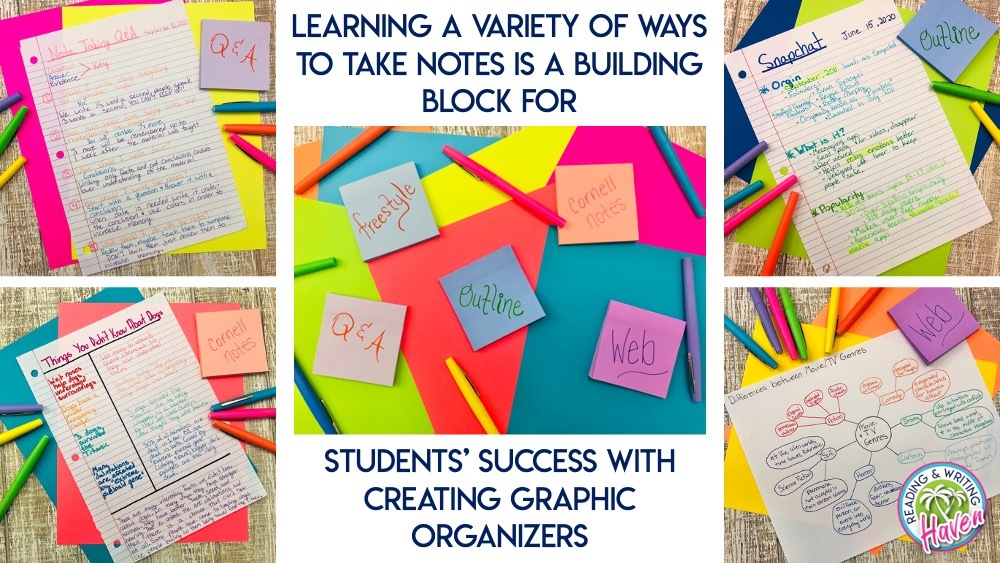
Typically, I recommend covering a variety of notetaking strategies during the first quarter, including sketchnoting. Once students feel confident with note taking strategies, it’s fair to ask them to start applying them to graphic organizers! But, don’t expect immediate mastery. Tons of learning and practice will go into preparing students to make their own graphic organizers. That is not a step we want to rush! Student-created graphic organizers are a sure way to elevate thinking and engagement.
REMOVING THE SCAFFOLDS
Recently, I was listening to an episode of Amplify’s “Science of Reading: The Podcast”. In the May 31 episode titled “Scaffolding is built to be temporary with Zaretta Hammond”, Hammond talks about how baby elephants are trained. This might not seem related, but hear me out! When trainers begin working with baby elephants, they use heavy chains around their ankles to keep them from escaping. After a while, the trainers can remove the chain and the elephants don’t go anywhere. The elephants stay in one spot, but they believe they can’t move.
While scaffolds are a necessary part of the learning process, they can become chains that keep students from believing in their ability to grow. Students will eventually embrace easy, passive thinking processes and begin to push back against higher-order tasks.
As teachers, we need to make sure that we are looking for ways to slowly remove scaffolds (yes, even graphic organizers!), so students can see what they are capable of!
Choice is one of the most powerful things we can offer students. We can do this by allowing them to choose the best graphic organizer or concept for them, based on their goals. However, we have to keep in mind that scaffolds are meant to be eliminated gradually. When they are ready, we can increase their thinking and engagement by letting them create their own visual representations! The three approaches discussed in this post are a great place to start, but there are so many ways to offer choice when it comes to graphic organizers!
Avoid creating issues where students are stuck believing that they can’t achieve without the help of someone else. Empower them to find what works best for them. They deserve it!
____________________________________________________________
READ NEXT:
This post is the fourth in a series about better graphic organizers. Find the other posts in this series linked below: